I bought a Dell XPS 15 9560 recently and after setting it up and updating all drivers, etc. I noticed there was a lag/stuttering when using Google Chrome browser.
It turns out I was not alone – apparently many people noticed the same problem. I came across this reddit thread which helped me to fix the issue: [XPS 15 9560/Precision 55520] FIX for Lag/Stuttering on Kaby Lake
The problem seems to be a buggy driver for the Intel HD Graphics 630 display adapter.
The most current version (as of the time of writing) on the Dell web site is version 21.20.16.4574
In order to fix the problem you need to download version 21.20.16.4590 from the Intel’s web site: Intel® Graphics Driver for Windows [15.45.14.4590]
EDIT (17 April 2017): You should see a yellow banner on Intel’s site saying there is a newer version of the driver:

It is version 15.45.16.4627 and it is working fine on the same computer I installed 4590 before. You may wanna use the newer one. The steps below are the same regardless if you use 4627 or 4590.
There is .exe and .zip file. Download the .zip file and save it on your disk. Extract the files.
Right-click the start button and run Device Manager:
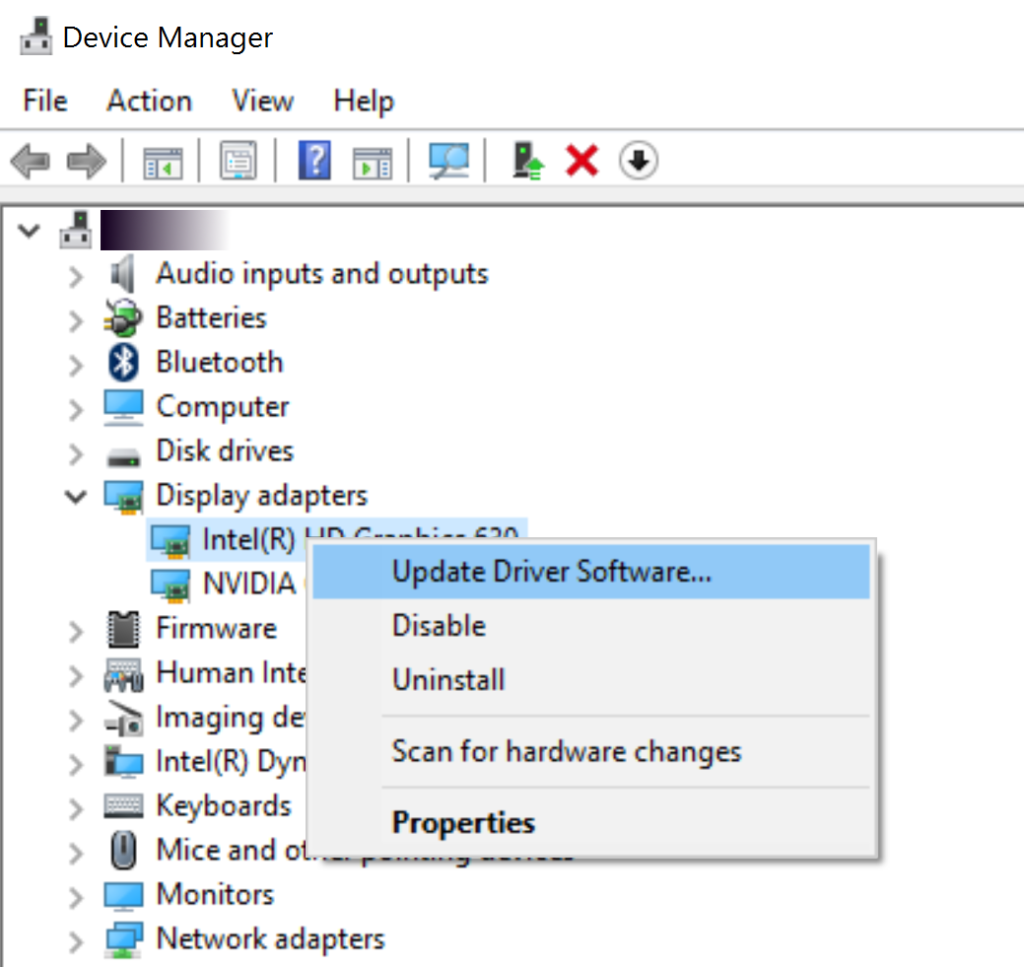
Expand the Display Adapters, right-click Intel(R) HD Graphics 630 and select Update Driver Software…
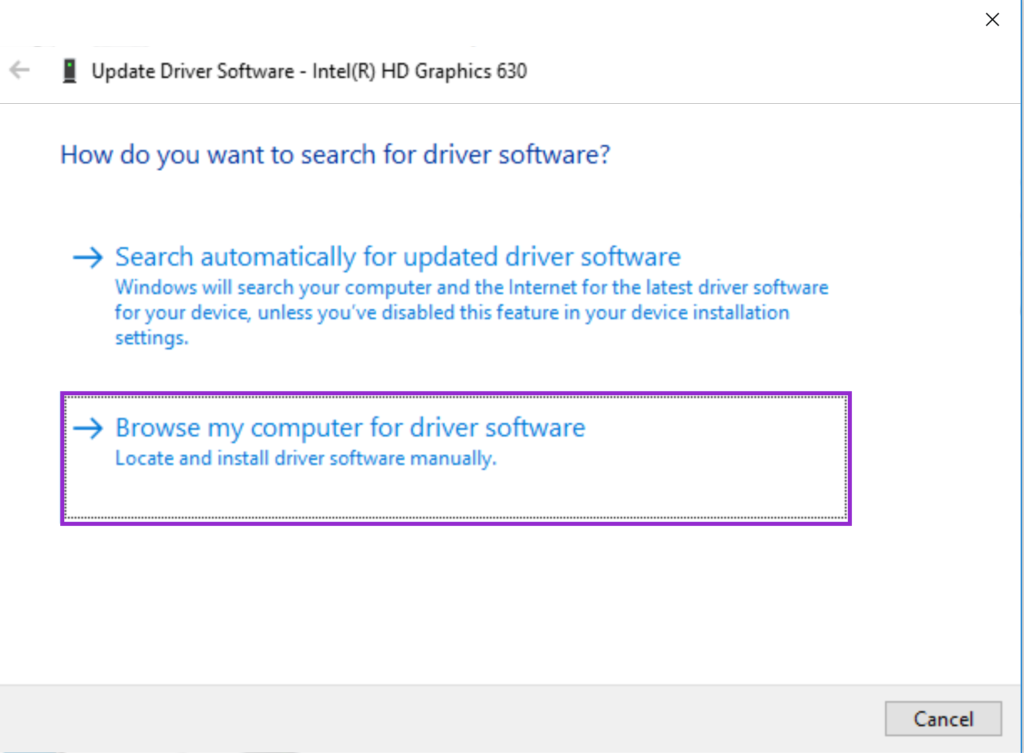
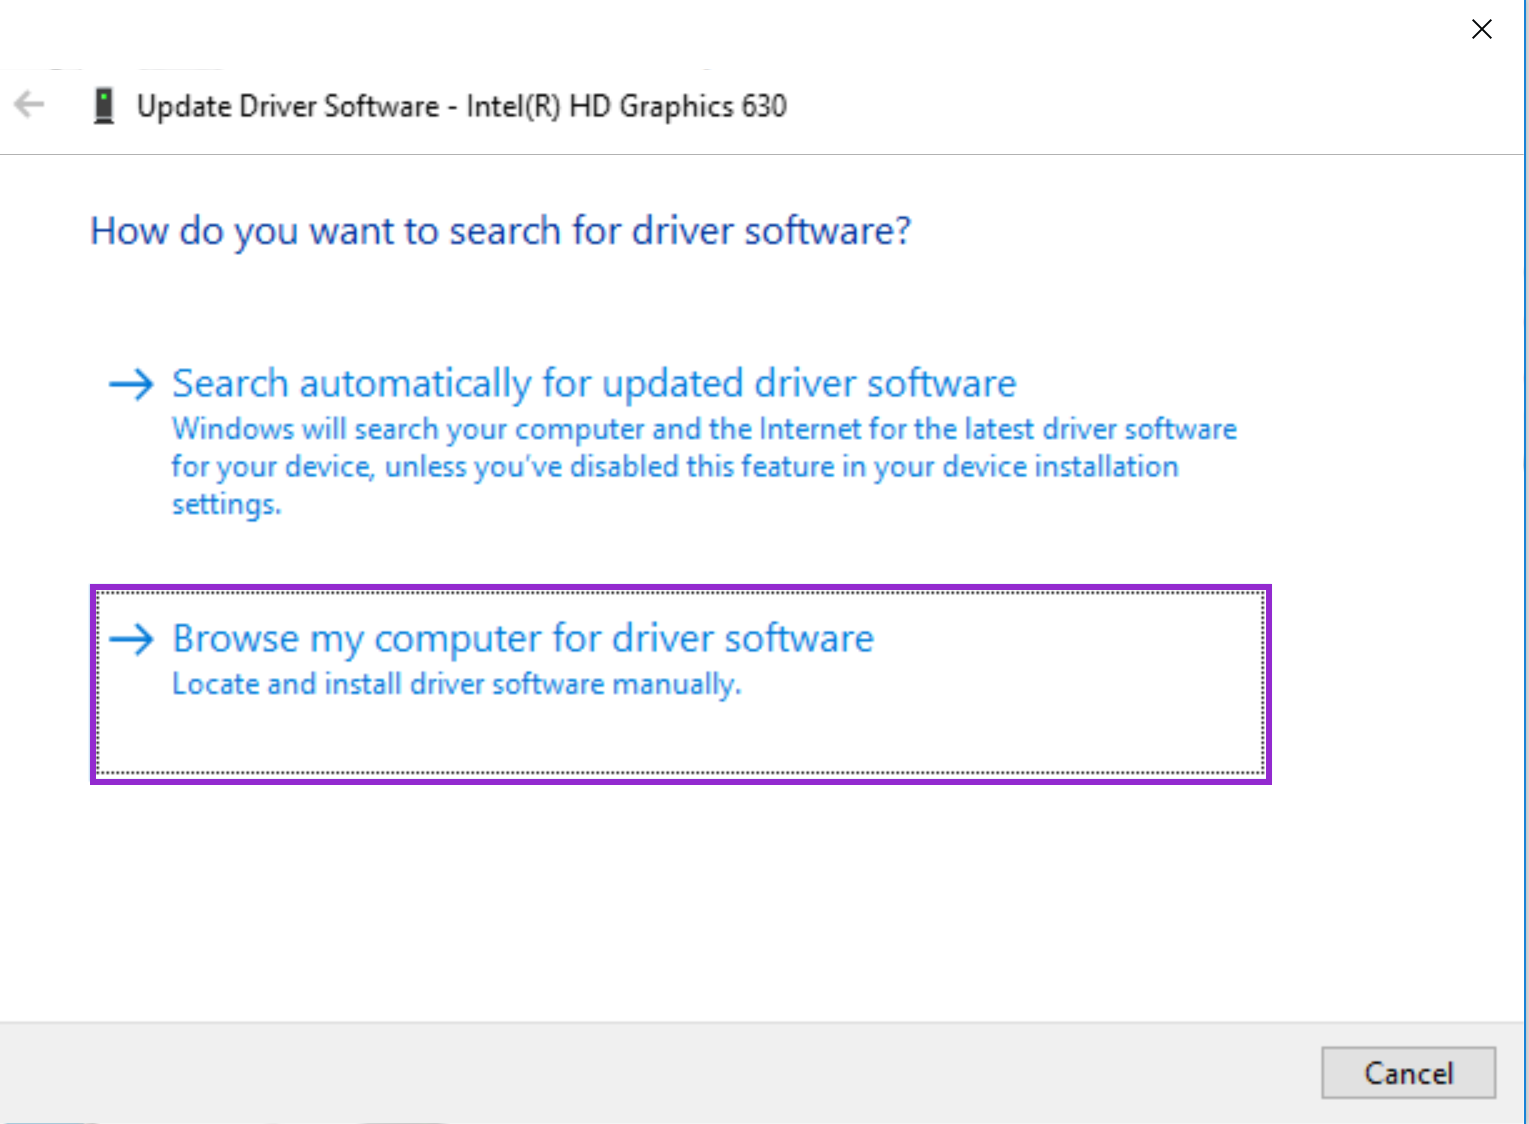
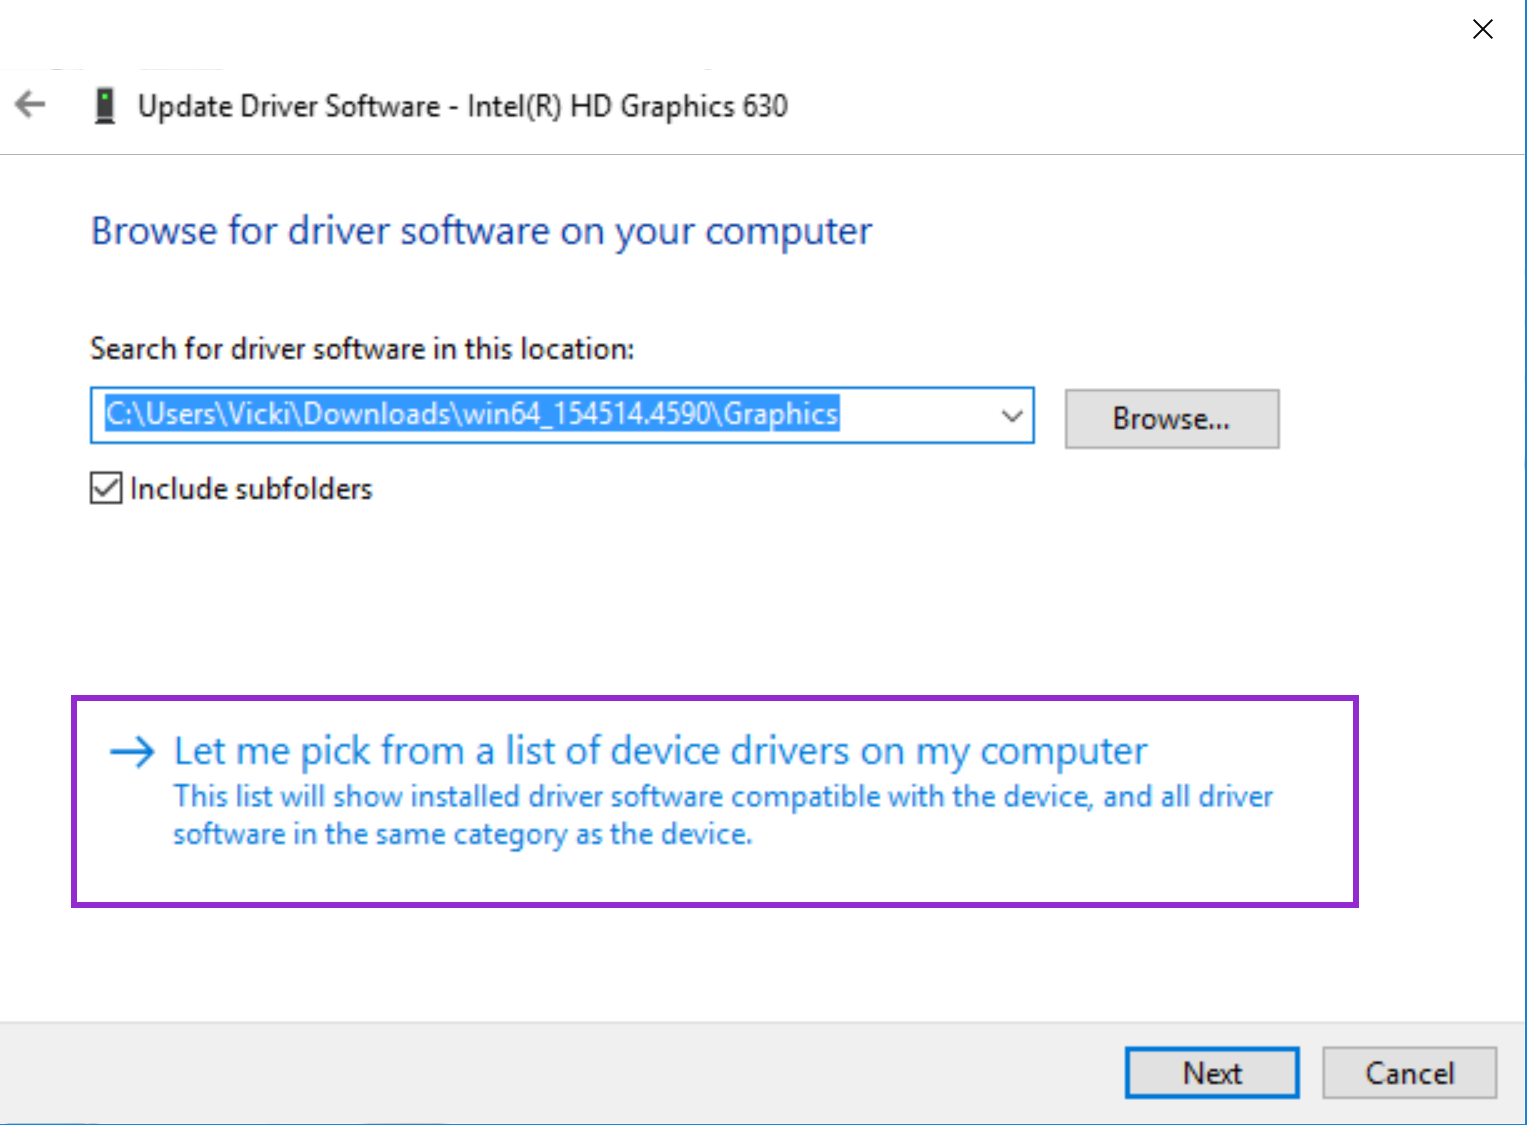
Important: In the dialog below do not click Next or Browse. Instead click on Let me pick from a list of devices on my computer.

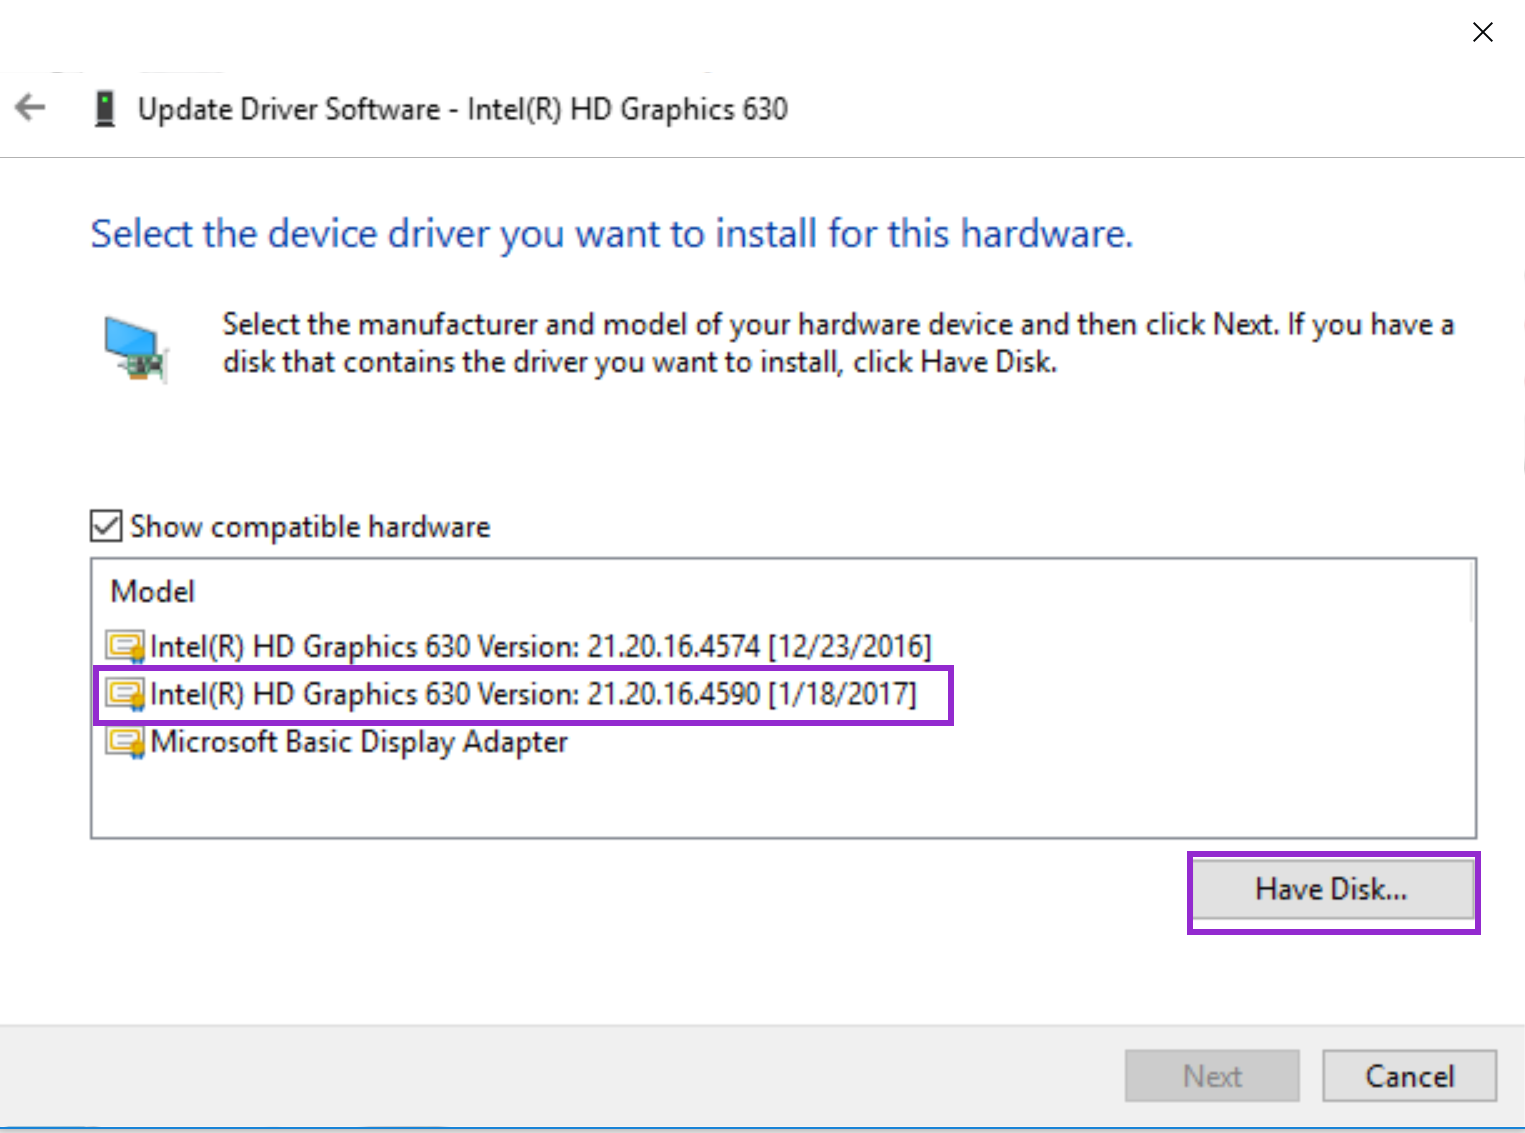
You will see a list of devices. This just shows the graphic card and what drivers are installed. You may have more than one driver installed for the same graphic card. This is normal – when a newer version is installed the old one is kept so you can revert back to an older driver if you want.
Important: The picture below shows one of the items selected – this was my mistake. You do not have to select one. Just click Have Disk… to continue.

Navigate to the folder where the drivers were unzipped. Open the Graphics folder. In my case the full path is C:\Users\Vicki\Downloads\win64_154514.4590\Graphics
There should be an .inf file. Select it and click Open.
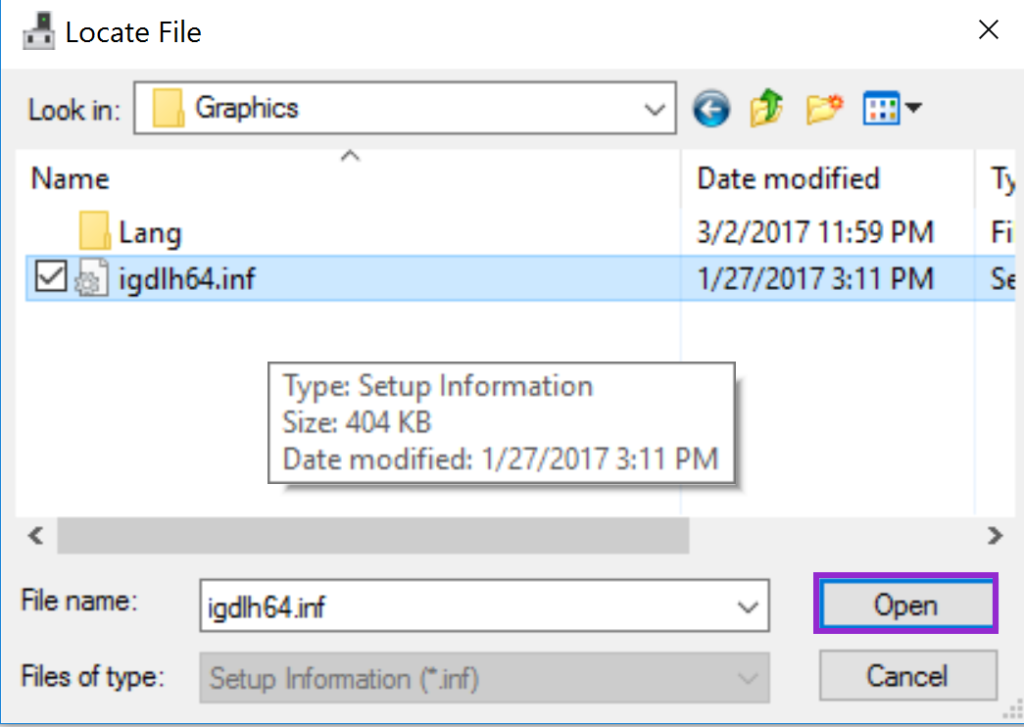
This should start the installation. After it is complete verify the driver has version 21.20.16.4590.
Note: The steps might be different for you since I took the screen-shots after I had the new driver installed.
The important part is to not click Next but to choose Let me pick from a list of devices on my computer as mentioned earlier.
This seems to fix the lag/stuttering I was experiencing. I hope this works for you too.