Introduction
This is Part 3 of the series of articles about setting up site-to-site VPN between on premise LAN and Azure where you will learn how to install Entware-ng-3x.
Entware-ng-3x is a fork of Entware-ng and it uses a newer 3.x kernels to build the toolchain.
If you missed the Part 2 please check it out here:
Prepare USB drive
You need a USB drive with ext2 or ext3 file system. ext3 allows journaling which means more writing to the USB. I do not know how and if possible to disable journaling, so I decided to go with ext2 to minimize the write operations to the USB. If you know more about pros and cons of using ext2 vs. ext3 on a USB flash drive please, feel free to leave a comment.
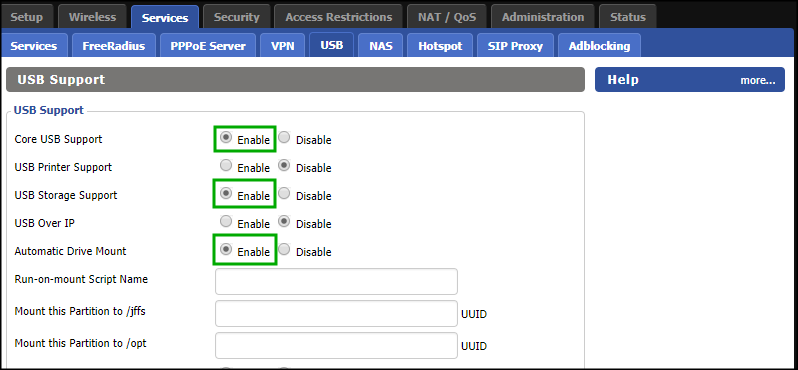
- Use the web interface to connect to dd-wrt and enable Core USB Support, USB Storage Support and Automatic Drive Mount:
- Plug the USB drive to the USB 2.0 port and connect with putty over telnet (port 23)
- Use fdisk to see the USB drive device name and then mkfs.ext2 to format it as ext2:
  fdisk -l
  mkfs.ext2 -L ENTWARE /dev/sda
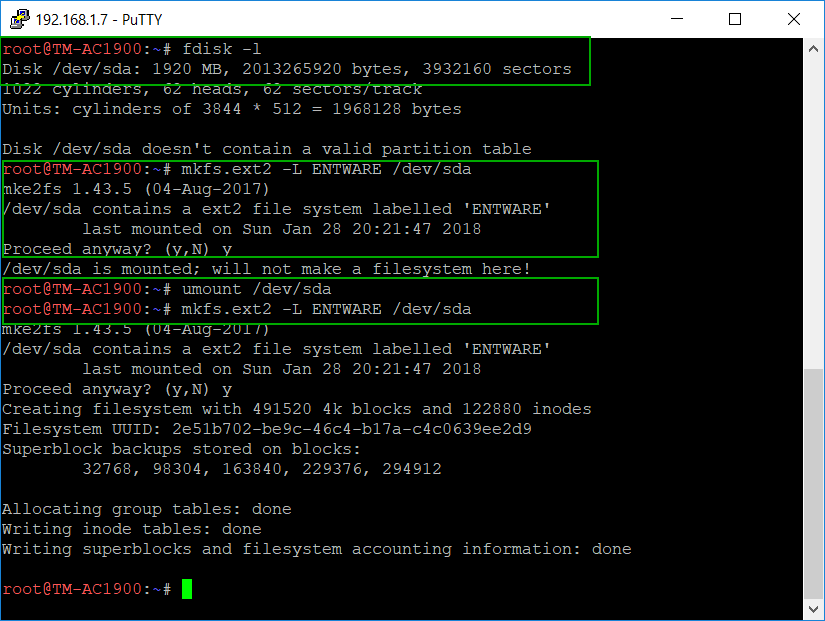 In this case the device is /dev/sda. use -L parameter with mkfs.ext2 to specify the label for the USB drive. You drive may already be formatted and mounted in which case mkfs will not make a file system in order to not accidentally delete any data. If you are sure you want to use this drive anyway, first un-mount it and try again.
NOTE: I am taking these screen-shots after the fact and the IP address shown in the Putty window is different than the one we started with (192.168.29.1). I just noticed it and decided to mention it in case you were wondering.
- Restart the router from Administration -> Management -> Reboot Rooter:

- Go to Service -> USB and copy the UUID information from the Disk Info to “Mount this Partition to /opt”
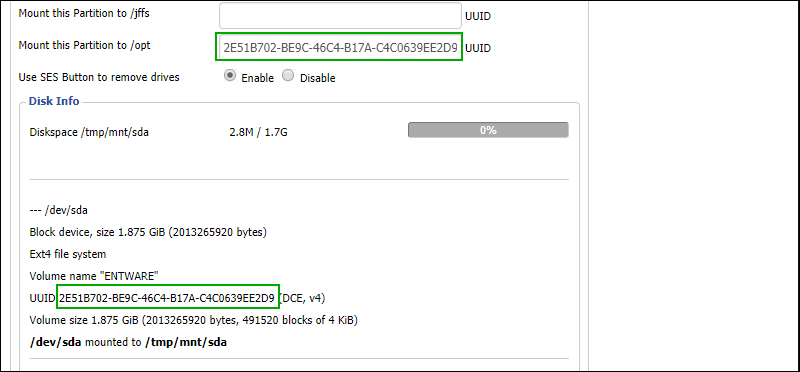
- Click Save and the Apply Setting at the bottom of the page
- Restart the router
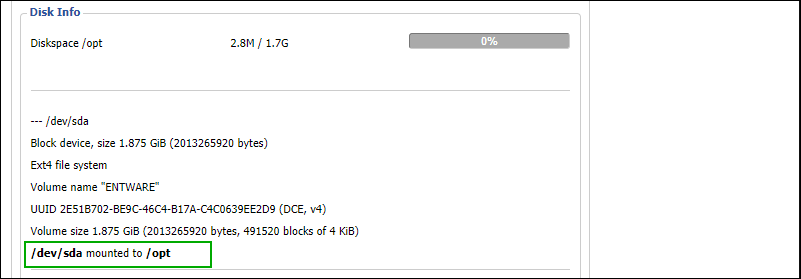
- Now the should be mounted to /opt:
Install Entware-ng 3x
- Use putty to telnet to the router
- Type following commands to install entware-ng 3x:cd /opt
wget -O – http://entware-3x.zyxmon.org/binaries/armv7/installer/install_std.sh | sh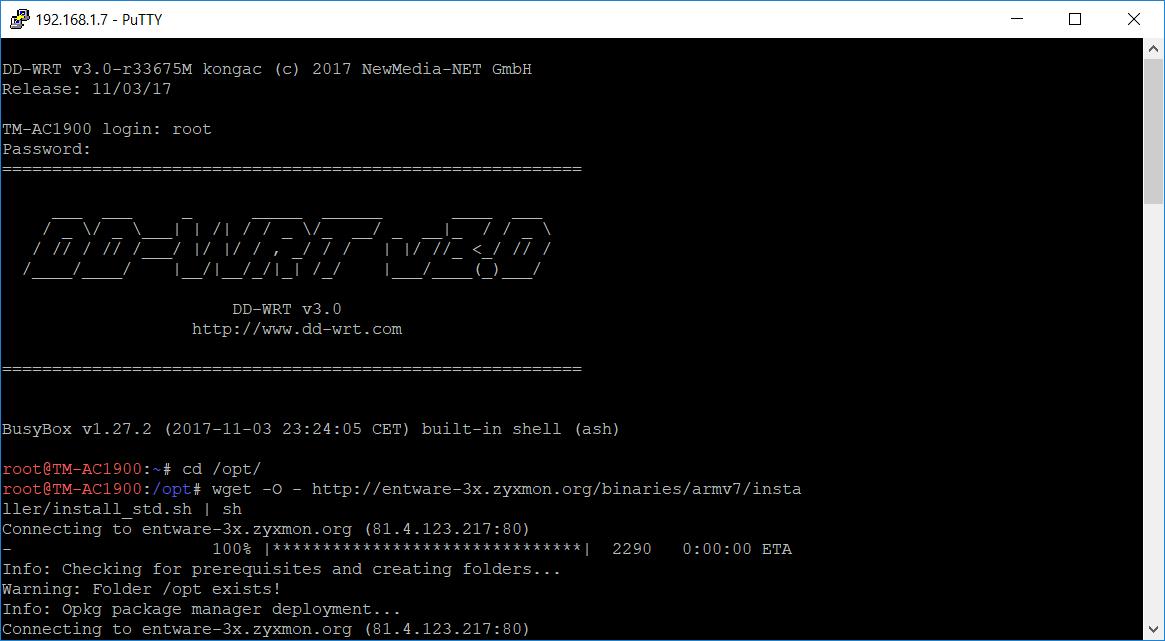 Note: We install the ARM version because the processor of the router is ARM. If you have a different router you should choose the binaries that match it’s processor architecture.
 - Update / upgrade:
opkg update

opkg upgrade

- Go to Administration -> Command and save the following as startup commands:sleep 10
/opt/etc/init.d/rc.unslung start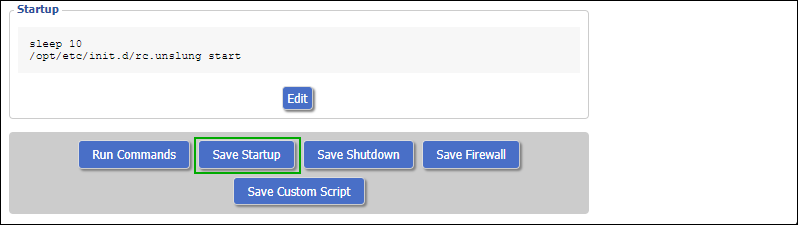
- Reboot the router
This concludes the installation of Entware-ng 3x.
In the next part we are going to install strongSwan: