FreeNAS – Windows (CIFS) Shares on ZFS

In the previous article we talked about Setting up ZFS.

Here we are going to create a Windows (CIFS) share that will be accessible on the local network and will demostrate how to use the ZFS snapshots to restore lost data.

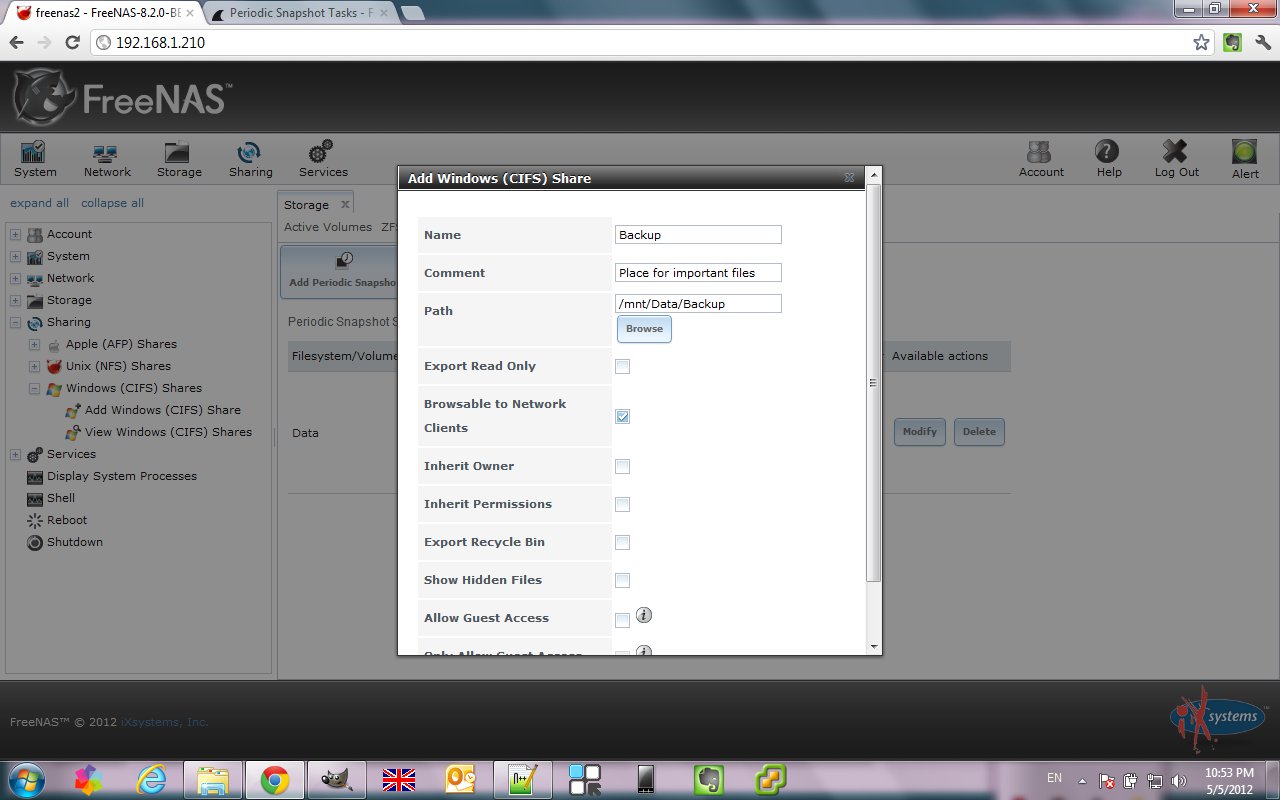
Let’s Add Windows (CIFS) Share from Sharing -> Windows (CIFS) Shares:

Creating a CIFS share will automatically start the service if it is not running already. Alternatively you can manually start or stop the service from Services -> Control Services.

We also have to configure the CIFS service (Services -> CIFS) by providing the NetBIOS name, Workgroup, etc:

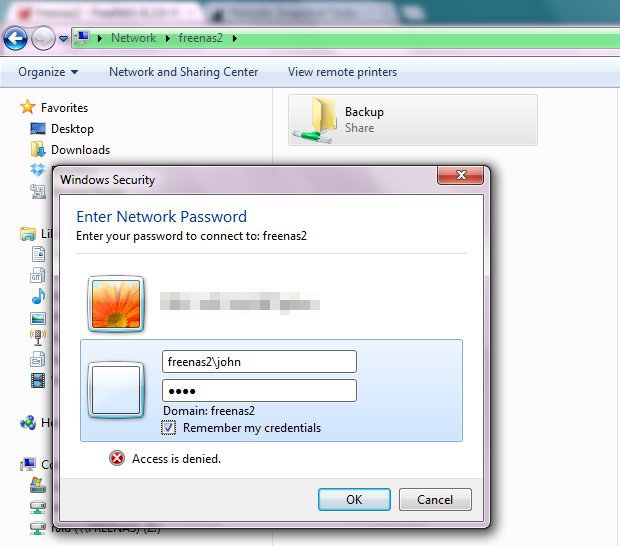
Now we can try to access the newly created share by typing \\freenas2\Backup in Windows Explorer:

We have to provide username and password in order access the share. The username is freenas2\john and the password is the one you set up when creating the user:

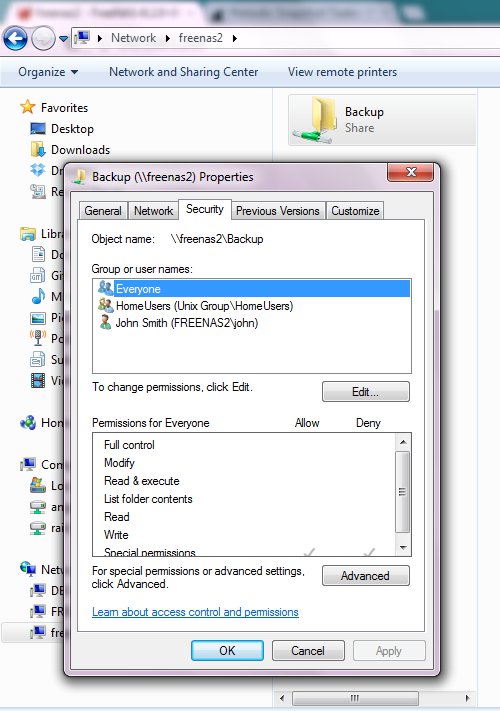
If you look at the security settings for the share you can see something similar like this:

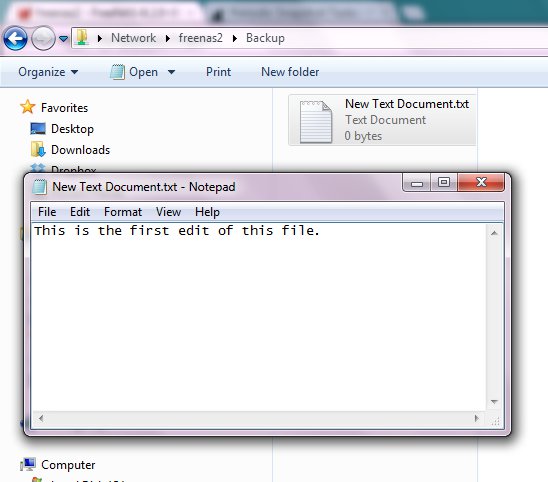
Now let’s create a simple text file in the share, type some text and save it:

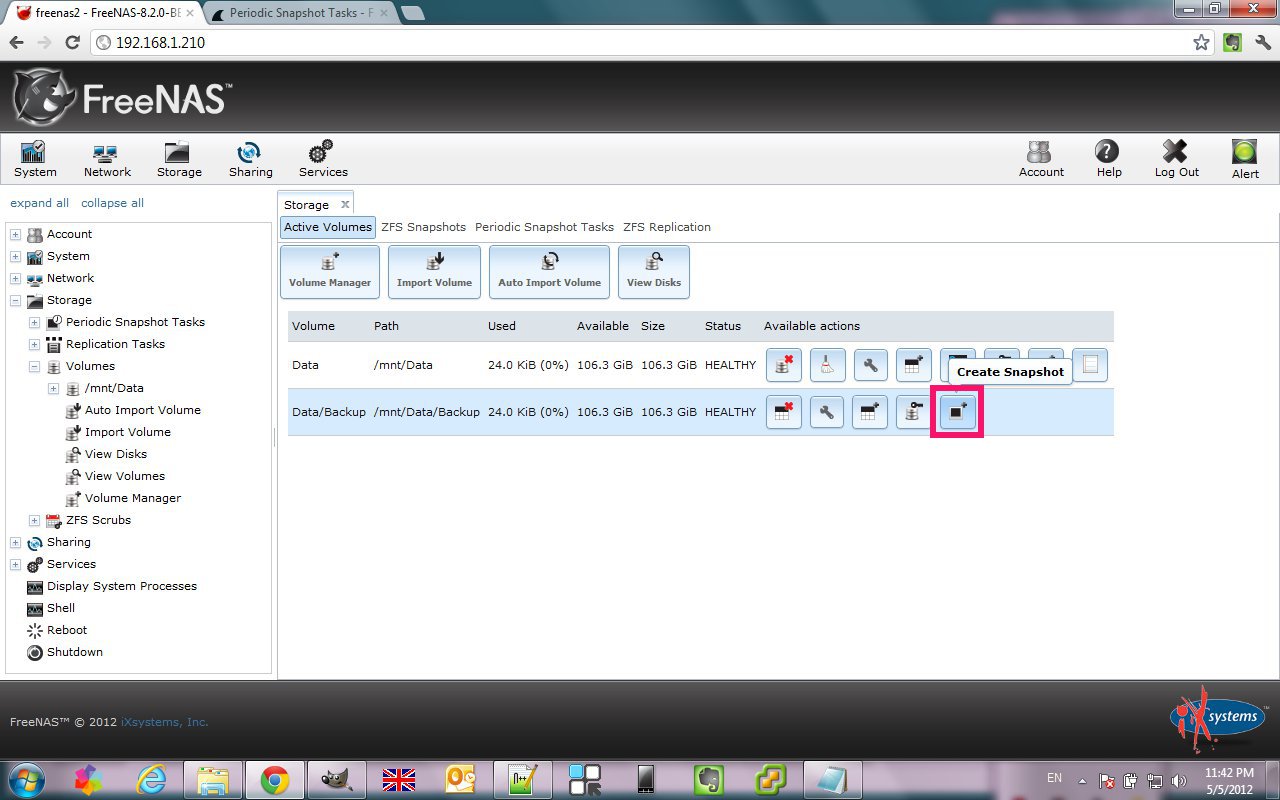
We are going to manually create a snapshot because we do not want to wait an hour for the periodic one to just demonstrate how it works:

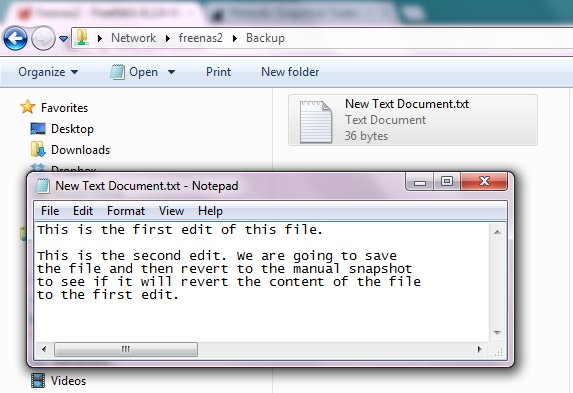
We are going to add some more text to the file we created earlier:

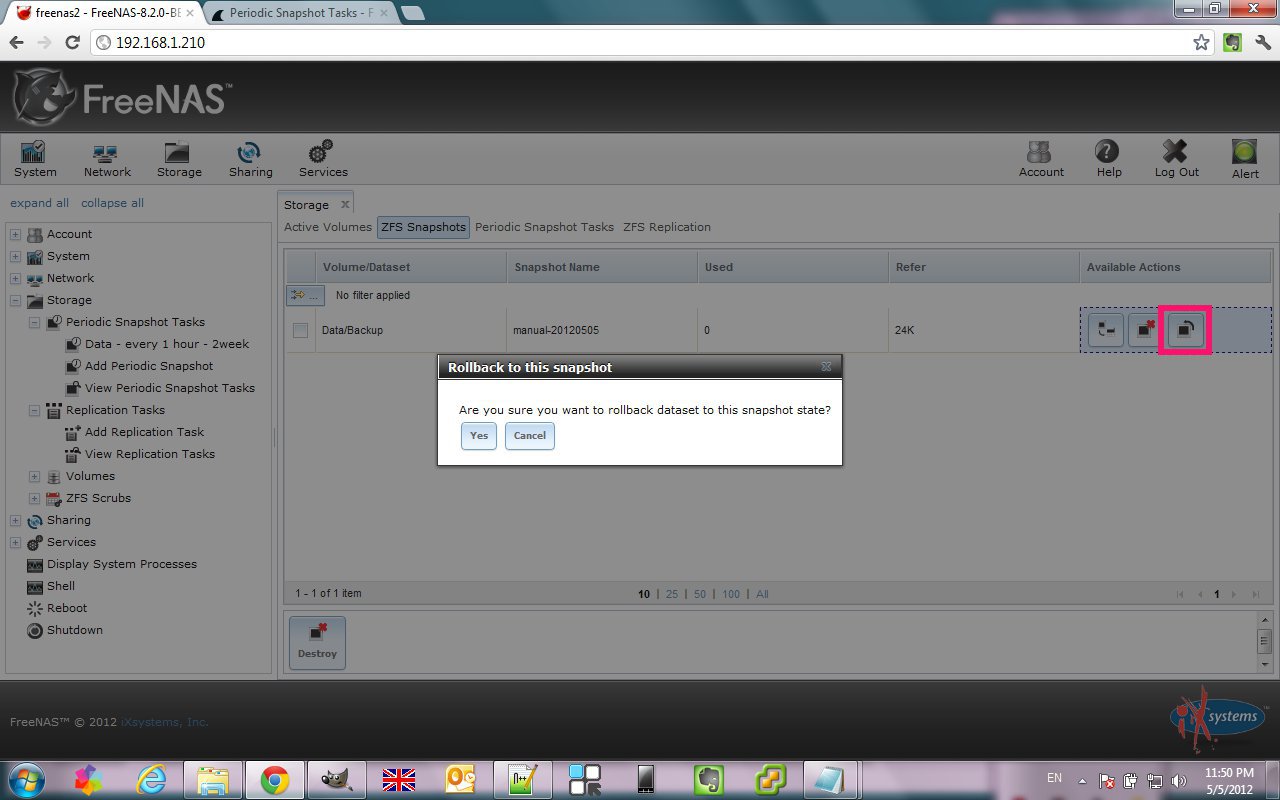
Now let’s roll back the snapshot we created – this should bring back the first version of the text file:

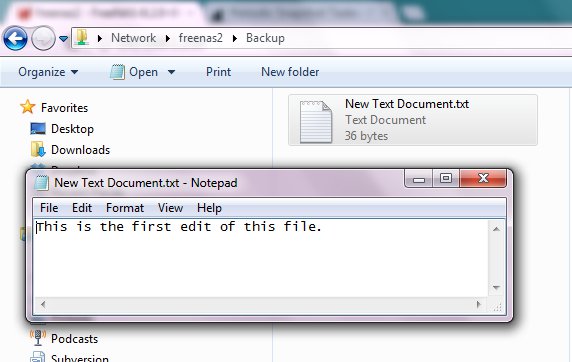
Indeed we got the first version of the text file:

This is really a simplistic look at the ZFS snapshots but it at least gives you some idea about how things work. I would personally experiment with bigger files (movies, pictures, etc.) to see how fast snapshots will eat up the disk space.

FreeNAS – Initial configuration

This article is about configuring FreeNAS (v. 8.2 BETA 3).

If you haven’t yet installed FreeNAS have a look at Installing FreeNAS to USB stick first.

We will assume that FreeNAS was installed and running on a remote computer with IP address of 192.168.1.210. Your installation most probably will have a different address. It also happens I have another installation of FreeNAS 7 and the computer is named freenas. Therefore the FreeNAS 8.2 computer is named freenas2.

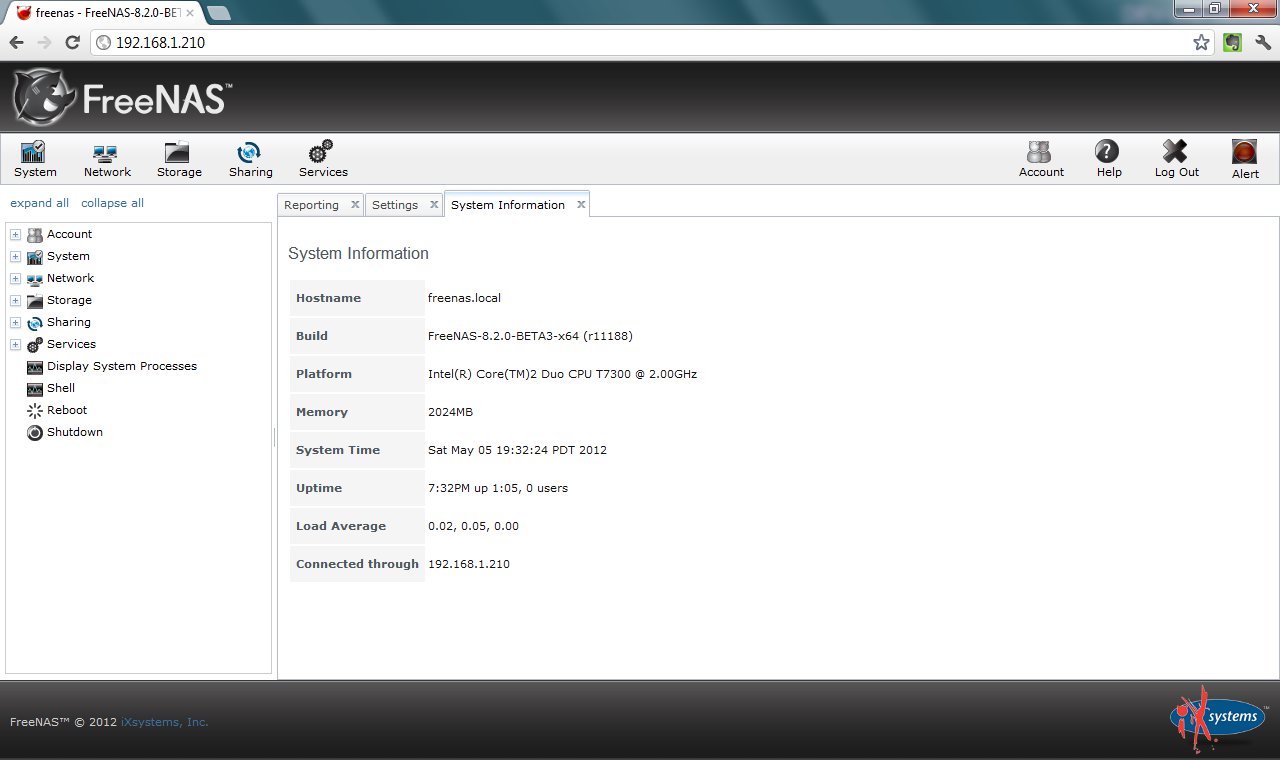
If I type the IP address mentioned above in a web browser I will see the web interface home screen for FreeNAS as shown below:

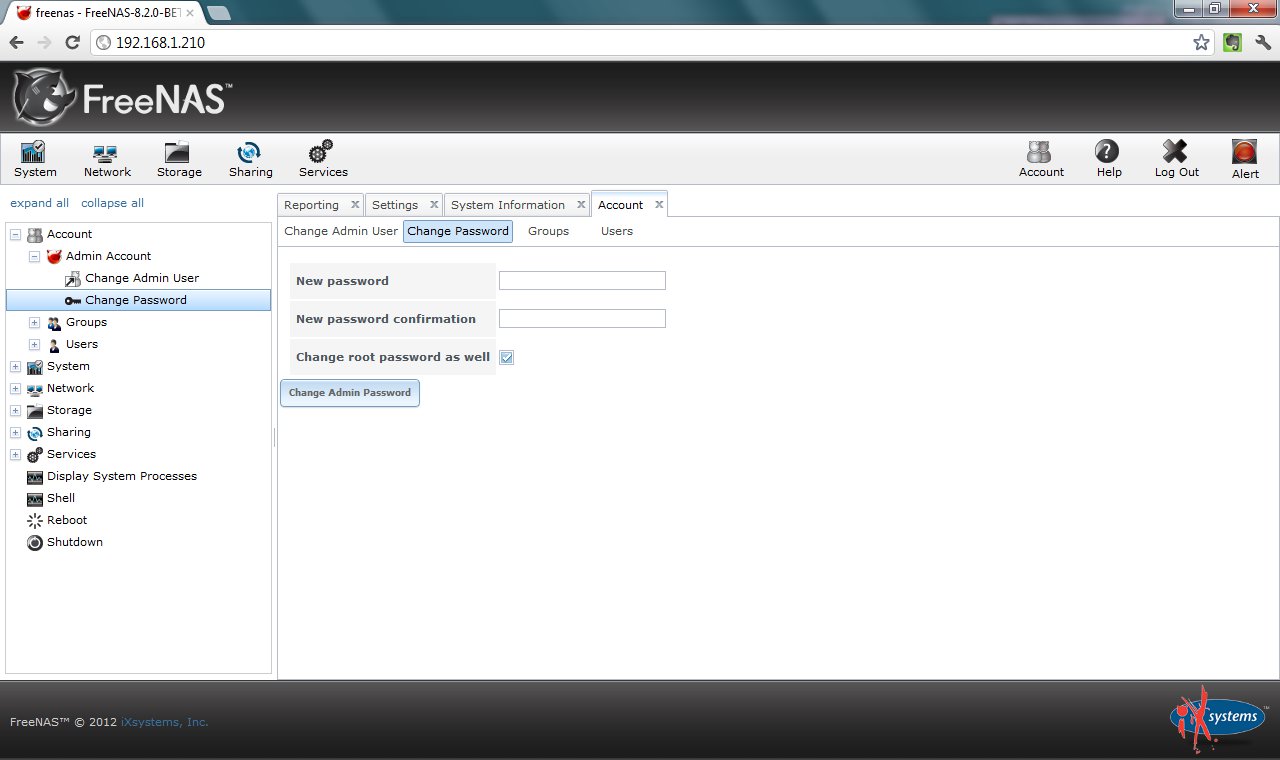
You will notice the blinking button that says “Alert” on the right side of the screen. It prompts you to change the admin password (by default there is no password and anyone can access the FreeNAS GUI). Click it and it will take you to the form when you can change the password. You also can reach the form by using the tree-like navigation on the left part of the screen – expand Account -> Admin Account -> Change Password

Next time you will be asked for username (which is admin by default) and password (the one you set up above).

If you check the Change root password as well it will set the root password with the password you typed above.

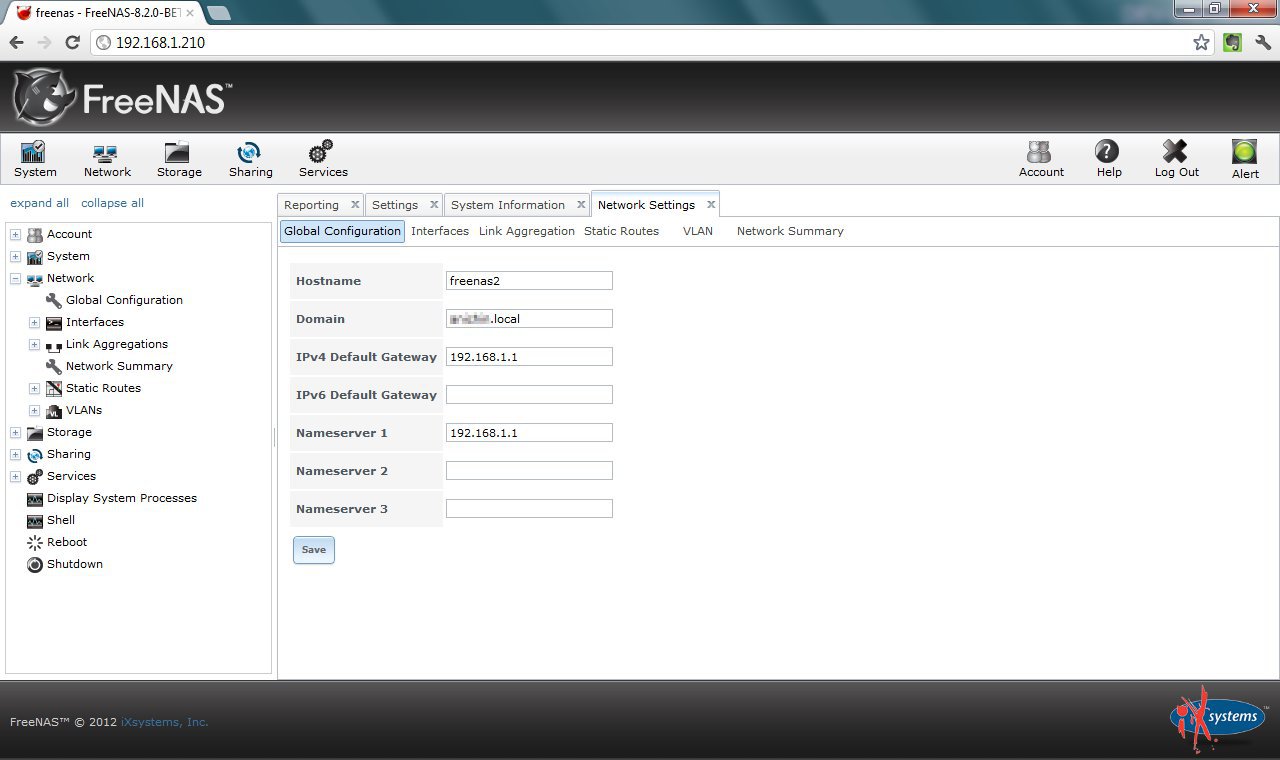
Next expand Network -> Global Configuration. Here fill in the Hostname, Domain, Default gateway, Nameserver 1 and press the Save button:

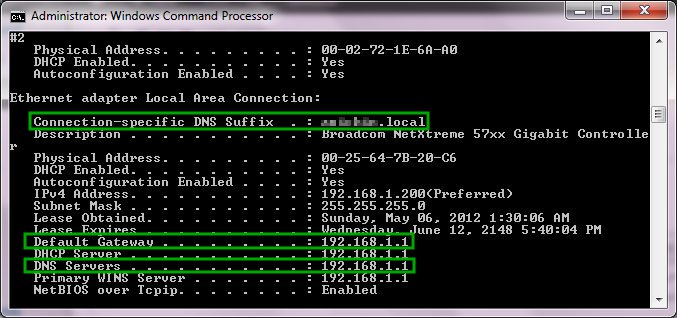
You can find most of this information if you open a command prompt (DOS prompt) and type ipconfig /all:

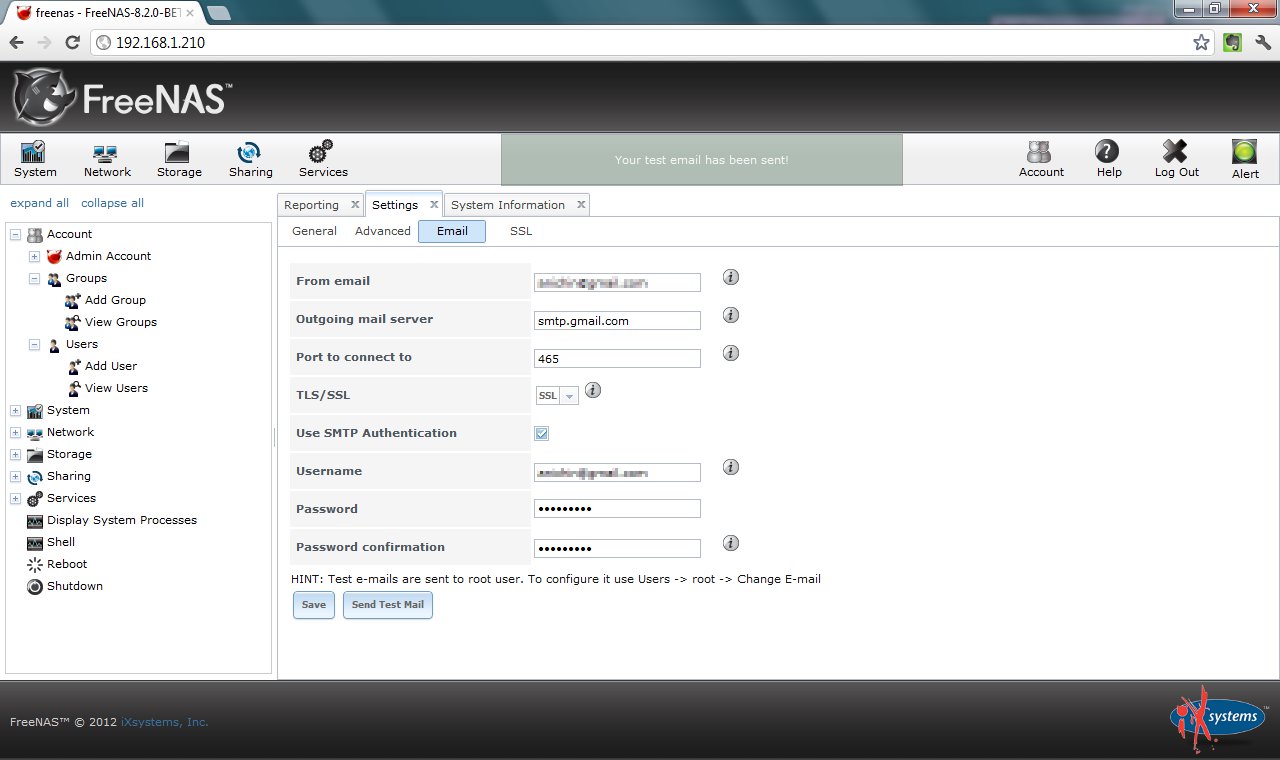
FreeNAS can send you status reports about the system. In order this to work you need to configure the Email settings. From the navigation on the left expand System -> Settings and click the Email tab. The configuration shown below will work if you have a GMail acount. You should be able to figure out what to put in the boxes if you want to use a non-GMail account. Save the settings and click Send Test Mail to confirm it works:

These are some of the settings that I would typically adjust on a newly installed FreeNAS. There are additional setting and I encourage you to explore them. If you need more information you can always click the Help button on the tool bar.

Please make sure to check the next post Posted in CodeProject, FreeNAS, Howto | Tagged , | 1 Reply

Installing FreeNAS to USB stick (new and simpler way)

This is the current article that describes the simplest way of installing FreeNAS on USB stick in Windows without burning installation CD first.

There is an old post about installing FreeNAS on USB stick which is available here but it is more complicated and I encourage you to use this one instead.

Here is how it works:

1) Download 7-zip and install it. If you have another program installed that can work with compressed files you may want to use it instead of 7-zip.

2) Download Image Writer for Windows. Make sure to get the file that ends in binary.zip. I copied the file to C:\Temp and extracted the files into C:\Temp\win32diskimager-binary.

3) Download the FreeNAS from SourceForge The latest stable version at the moment of writing is 8.0.4. I however decided to go with the 8.2 BETA 3 which is the latest available at the moment. You need the file ending in .img.xz

FreeNAS files

I downloaded the file and placed it in C:\Temp

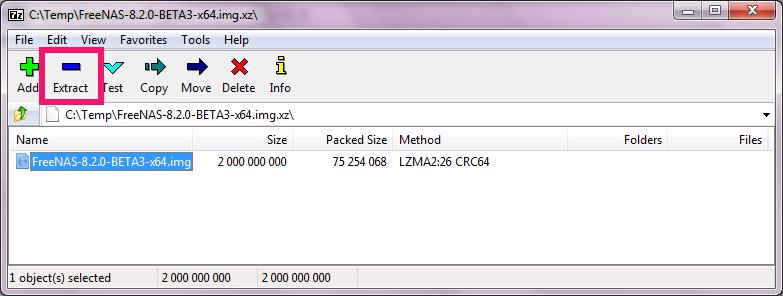
4) Open the file you downloaded in the previous step with 7-zip and extract its content:

It produced a file named FreeNAS-8.2.0-BETA3-x64.img

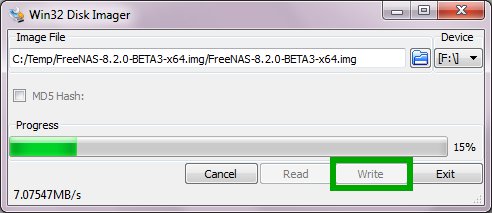
5) Write the .img file to your USB stick using the Image Writer:

Note: You need 2GB USB stick or bigger.

That’s all. Reboot your computer and make sure the boot from USB is the first choice in the BIOS.

Here is the FreeNAS Documentation Project page that gives you additional information about how to install FreeNAS on USB stick in Linux or OS X:

Burning an IMG File

How to install FreeNAS to USB stick


Note: This post is more than an year old. You can still use it to install FreeNAS on USB but I strongly recommend you to read the new one first which is much simpler:

Installing FreeNAS to USB stick (new and simpler way)

FreeNAS is an Open Source Storage Platform based on FreeBSD and supports sharing across Windows, Apple, and UNIX-like systems. It comes with a lot of protocols and services