How to Virtualize Your Home Router / Firewall Using pfSense
Reply

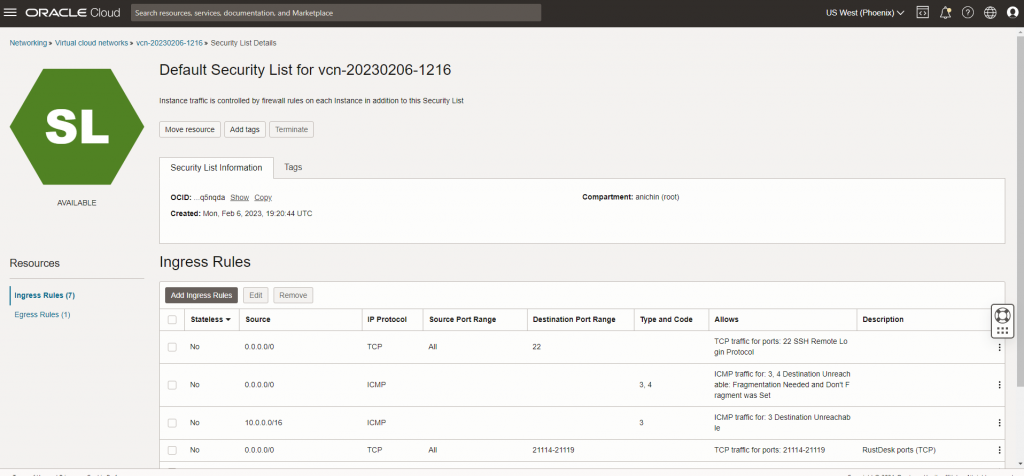
Make sure you open these ports:
ufw allow 21114:21119/tcp
ufw allow 8000/tcp
ufw allow 21116/udp
sudo ufw enable
Disable iptables
iptables -P INPUT ACCEPT
iptables -P OUTPUT ACCEPT
iptables -P FORWARD ACCEPT
iptables -F

iptables --flush
Also enable the ports in the default security list for the subnet.